How To: Cut out Spots in Affinity
The technique
This is an advanced photo editing technique that’s made entirely possible anywhere I go because of Affinity Photo on the iPad.
Also, it’s the exact same process I’d use to chop around my spots in Photoshop.
Same skills, different app.
Note: It is totally possible to turn this into an action which makes for an exciting opportunity for effieciency when Affinity add Macros (their version of 'actions') to Affinity Photo for iPad.
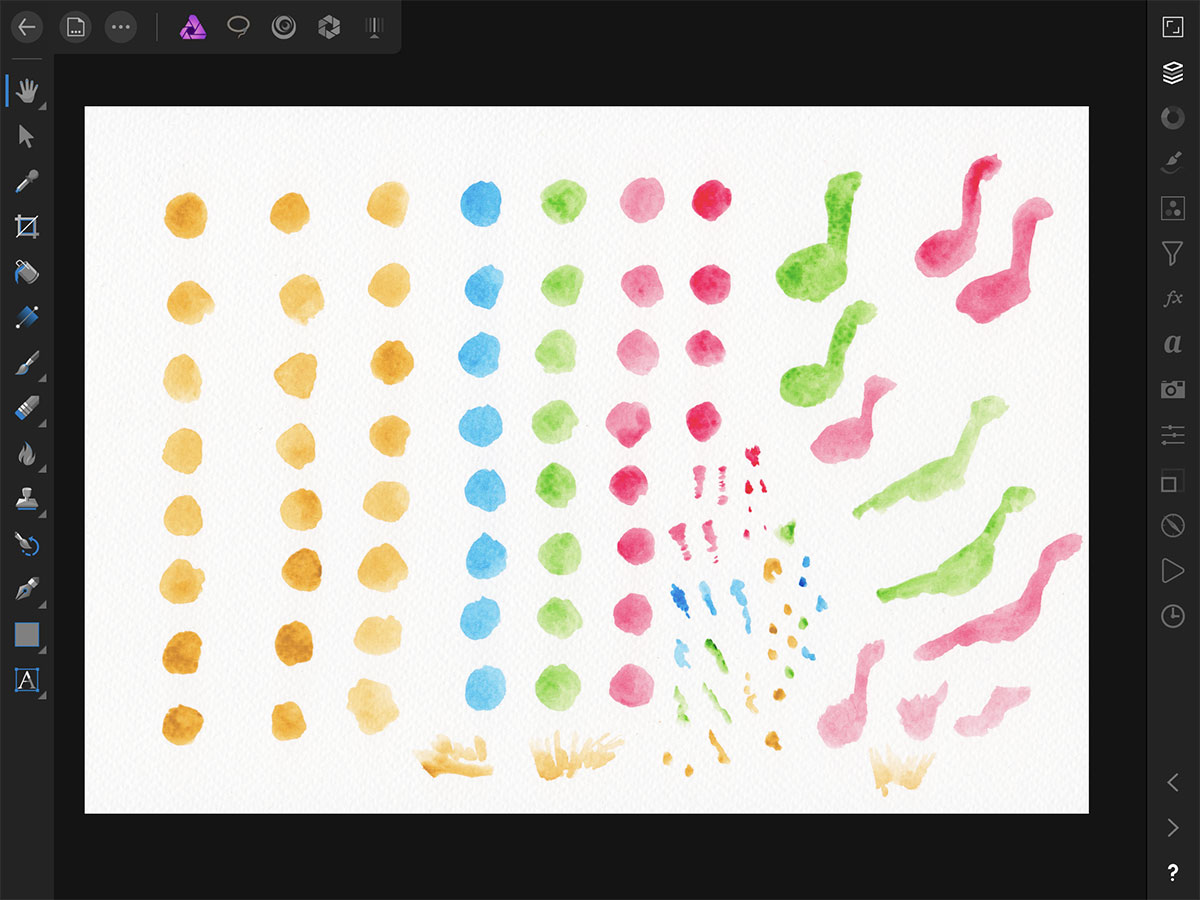
Equip your scan!
Prep: Remove any bad marks or dust with the in-painting tool
I like masks. They are non-destructive, swift and editable. I use masks in my workflow.
As the areas I’m interested in keeping are coloured, I can create a mask by:
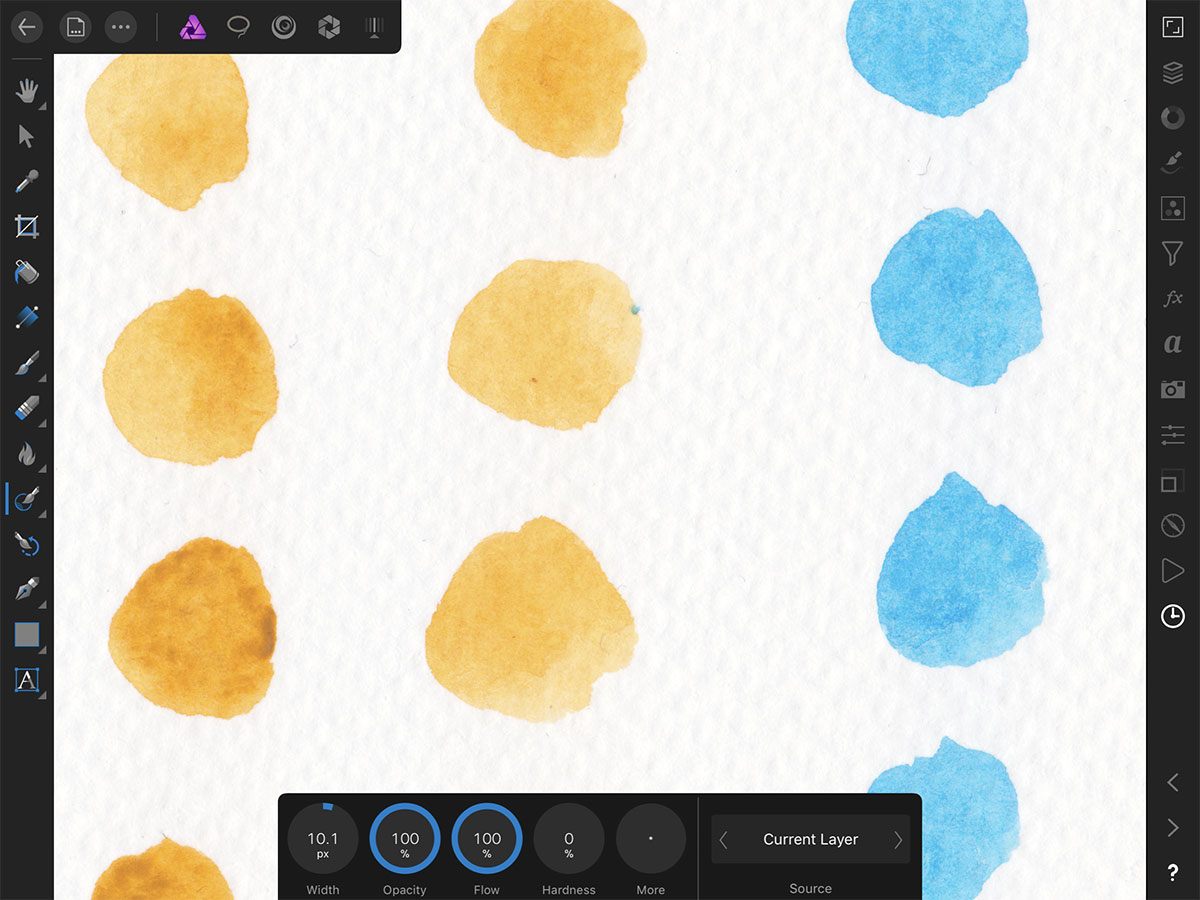
- Boosting the saturation.
- Using a black & white adjustment layer to turn all the colours black.
- Increasing the contrast using a levels adjustment layer.
- Using the Channels studio (view one of the channels, tap the three dots and tap 'Load To Pixel Selection') to create a selection.
- Invert the selection by tapping on the canvas with two fingers (otherwise we'll only keep the paper).
- Use the selection to mask the scan by pressing the mask button in the Layers Studio and tapping 'New Mask Layer'.
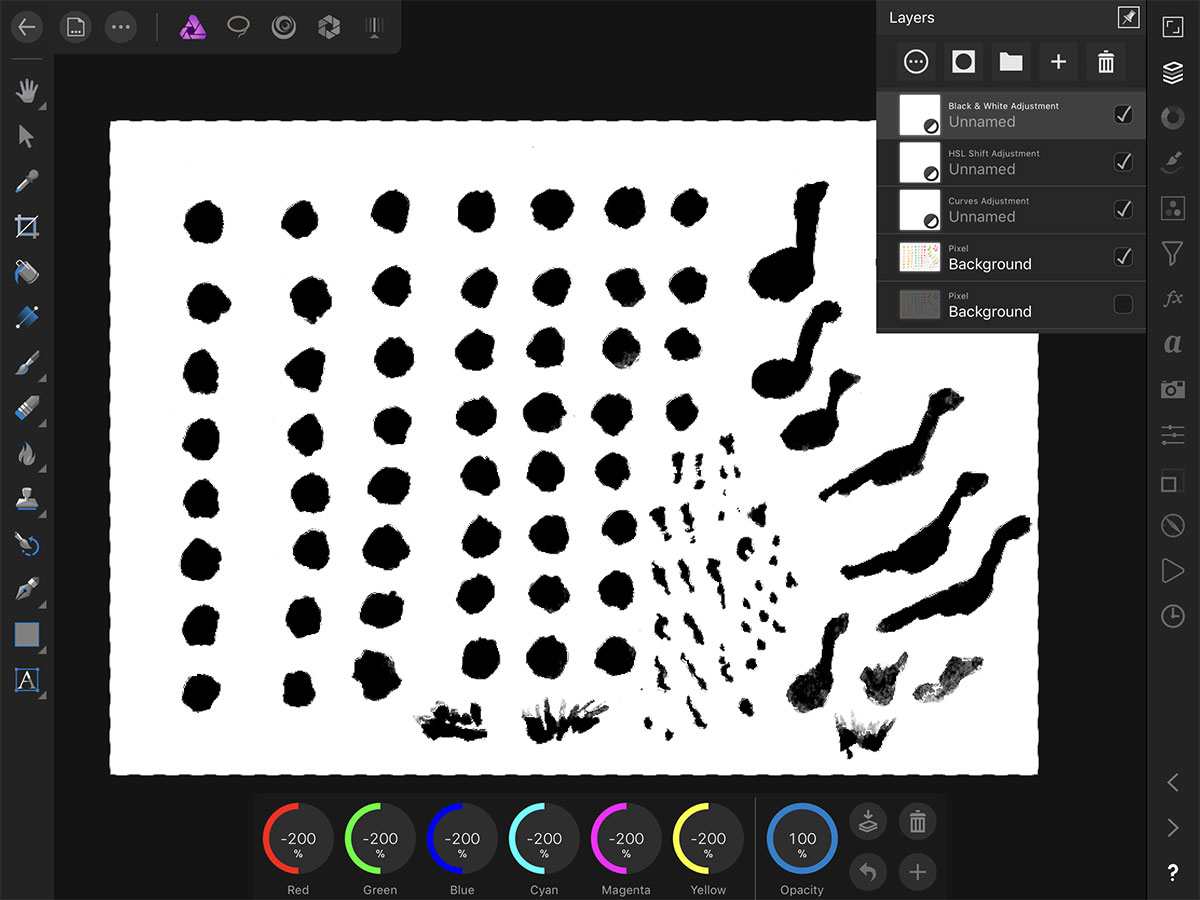
Black & White Adjustments help create the perfect mask. With the selection active, press the mask button and tap 'New Mask Layer'.

A perfect cut.
Boom, done. Export PSD to Procreate
(Yes, I know there’s a magic wand - but depending on the colour and shape of the spot, this wields consistently better results!)